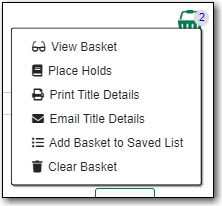
The Basket Actions menu, found by clicking on the basket icon, lets you view the contents of the basket, batch place holds, print or email the title details for all titles, add the contents of the basket to a saved list, and clear the basket.
In the basket view there is also a button that allows you to add the contents of the basket to a new list.
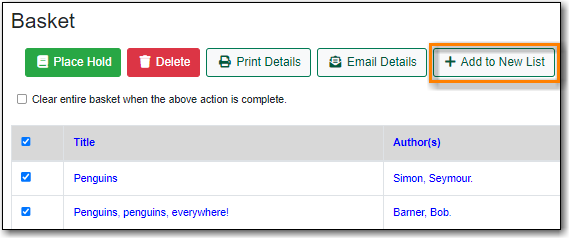
- Select the titles you’d like included.
Click the Print Details button.
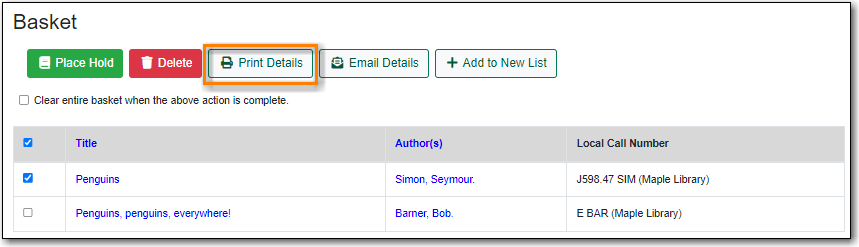
- The print preview and format editor opens.
From the Format drop down menu, choose Full and click Update. This ensures the local call number and shelving information will be included.

If there are multiple libraries copies in the preview, choose required library in Holdings Library field, and click Update again.
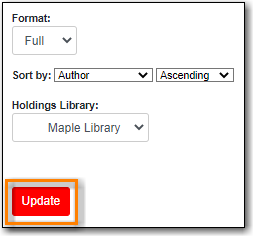
- The preview is presented.
Click Print Now.
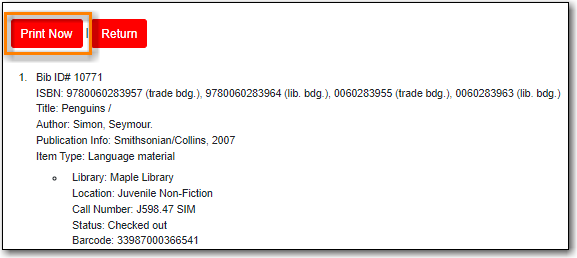
- Follow any prompts from your browser to print the details.
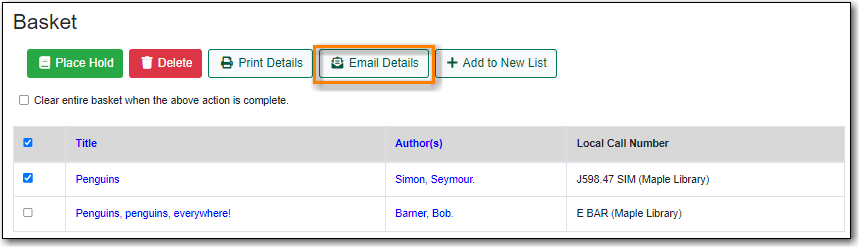
- Select the titles you’d like included.
Click the Email Details button.
- You must be logged into My Account in order to email, and are prompted to do so if not.
- The email preview and format editor opens.
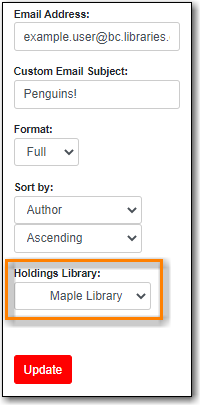
Update the email address and add a custom email subject if needed.
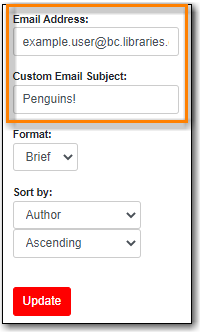
From the Format drop down menu, choose Full and click Update. This ensures the local call number and shelving information will be included.
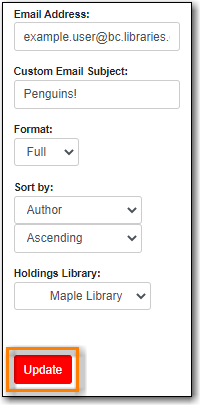
If there are multiple libraries copies in the preview, choose required library in Holdings Library field, and click Update again.
- The preview is presented.
Click Email Now.
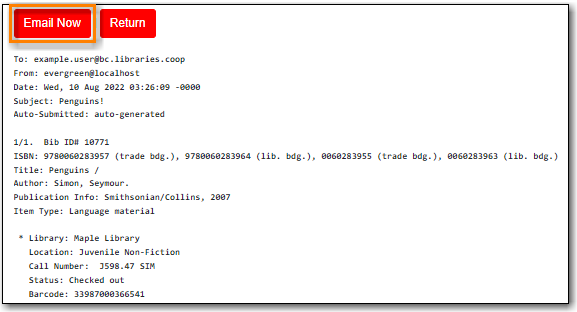
- A message appears letting you know your email has been queued.
- The email is sent to the user.
