Records can be added to new, existing, or shared record buckets via the staff catalogue, the item status interface, the MARC Batch Import/Export, and report output.
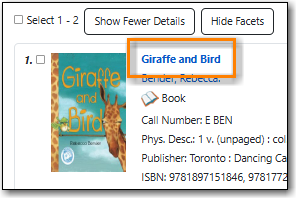
- Search the catalogue for the records you would like to add to a bucket, as described in Chapter 19, Searching the Database for Cataloguing Purposes.
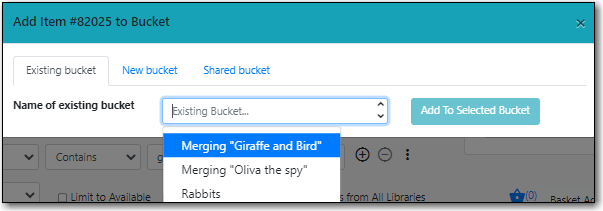
Click Add to Bucket on the result. Clicking on the arrow beside will give a drop down menu of existing buckets.

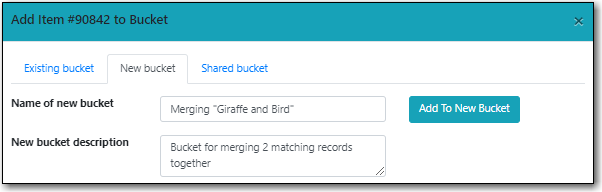
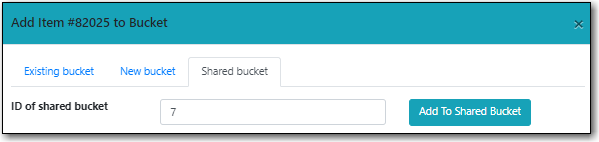
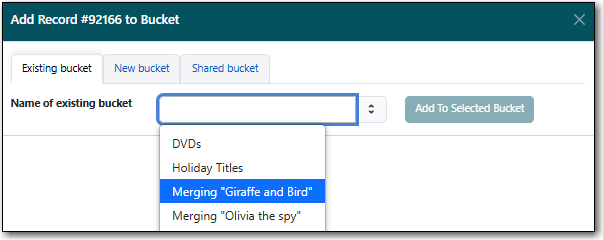
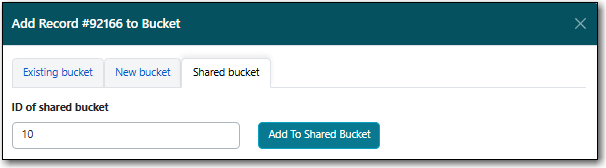
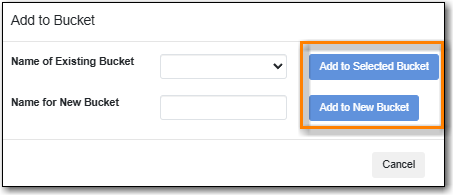
On the pop-up that appears records can be added to:
an existing bucket.
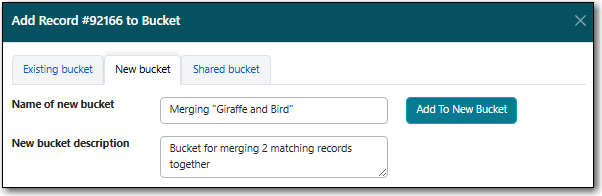
a new bucket.
a shared bucket.
- Enter the required information and click the appropriate button.
The record is added to the record bucket.
OR
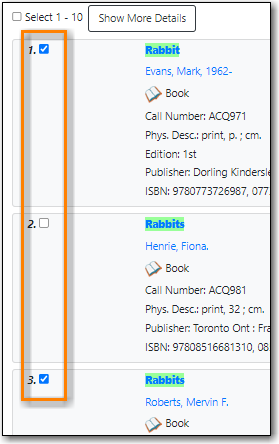
Select the titles you would like to add to the bucket.
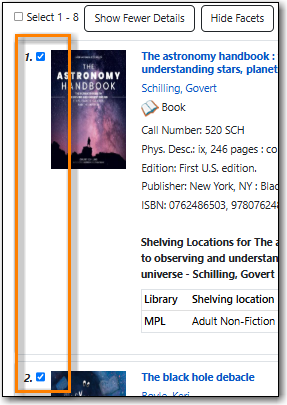
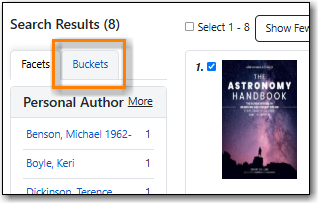
Click on the Buckets tab.
Hover below the bucket count and click on the Add X link that appears.
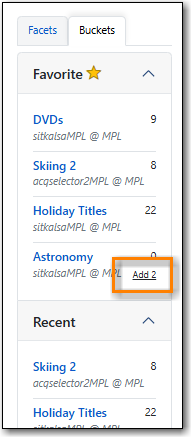
- The record is added to the record bucket.
- Search the catalogue for the records you would like to add to a bucket, as described in Chapter 19, Searching the Database for Cataloguing Purposes.
Select the titles you would like to add to the basket.
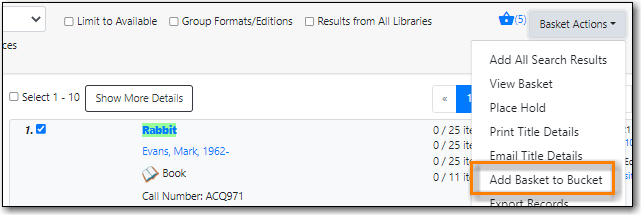
Once all desired titles have been added to the basket choose Add Basket to Bucket from the Basket Actions drop down menu.
On the pop-up that appears records can be added to:
an existing bucket.
a new bucket.
a shared bucket.
- Enter the required information and click the appropriate button.
- The record is added to the record bucket.
- Search the catalogue for the record you would like to add to a bucket, as described in Chapter 19, Searching the Database for Cataloguing Purposes.
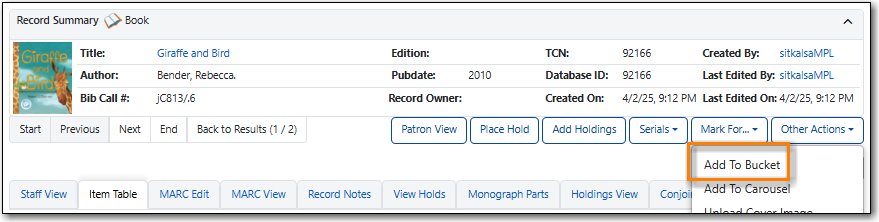
Click on the title link to open the record.
Choose Other Actions → Add to Bucket.
On the pop-up that appears records can be added to:
an existing bucket.
a new bucket.
a shared bucket.
- Enter the required information and click the appropriate button.
- The record is added to the record bucket.
- Scan the items whose records you wish to add to a bucket into the Item Status interface.
Select the items and from the Actions menu choose Add to Record Bucket.

On the pop-up that appears the records can be added to an existing bucket or new bucket. Make your choice and select the appropriate button.
- The records are added to the record bucket.
- Create your bucket. See the section called “Creating Record Buckets”.
- Select your bucket and choose Upload Records from the Actions menu or from within the record bucket click on the Upload button.
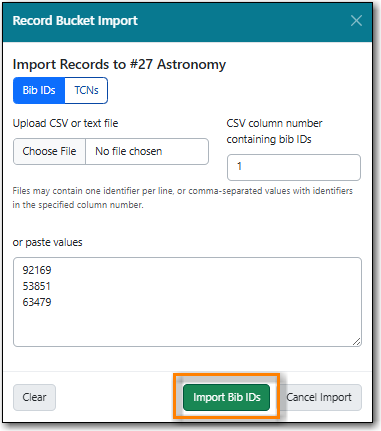
- On the pop-up that appears choose your file and indicate which column includes the bibliographic/record IDs. Alternatively, you can paste bibliographic/record IDs into the text box.
Click Import Bib IDs.
- The records are uploaded into the bucket and a confirmation appears. Click OK.
MARC records that have already been imported via MARC Batch Import/Export can be added to a bucket.
- Go to Cataloguing → MARC Batch Import/Export.
- Click on the Inspect Queue tab.
Double-click on the queue you’d like to open.

Click Copy Queue to Bucket.

On the pop-up that appears records can be added to:
an existing bucket.
a new bucket.
a shared bucket.
- Enter the required information and click the appropriate button.
- The record is added to the record bucket.
