Table of Contents
Sitka Snippet Video - Item Buckets (4:33)
Buckets is the name for a batch change functionality in Evergreen, or for a function that groups records in one place. Batch changes allow you to group together many records and enact changes on them all at once, instead of individually editing them. Buckets can also be used to create pull lists. Buckets allow you to track and work with your materials in arbitrary ways and more easily collaborate with others.
This chapter will demonstrate a variety of ways in which you can manage your items with Buckets.
Currently there are item and title record buckets. You may work on item records with Item Buckets and MARC records with Record Buckets.
Some possible uses for buckets are batch editing items, deleting items, and grouping like items temporarily to change their status or to create bibliographies and pull lists. While you can batch edit records a variety of ways in Evergreen, using common Windows functions such as select all and edit, buckets are useful for keeping records together over a period of time. For example, if you scan 20 items into the Item Status screen you can batch edit or delete from there by selecting all, but you have to enact those changes right then while records are all together on the screen. By utilizing Evergreen’s bucket functionality, you can create a bucket and add records to that bucket, and they stay there until you are ready to work with them, whether that be immediately or days later. Adding items to a bucket is like creating and saving a query. The record being in a bucket does not affect normal library functions such as circulation, as being in a bucket is not a status.
Buckets can be shared or private, and are associated with a login account.
Tip
Deleted records are not automatically removed from buckets. It is recommended that you always display Deleted? field in Bucket View.
When a bucket is retrieved, all information about the records in it is transferred to the workstation. It consumes the computer’s resources. It is recommended that an item bucket contain no more than a few hundred records.
There are two ways to create an item bucket. You can either create a bucket first, without accessing any copies, or you can access an item record and choose to create the bucket from that view. We will demonstrate both methods here.
Create an Item Bucket on Item Buckets view
- Select Cataloging → Item Buckets from the menu bar.
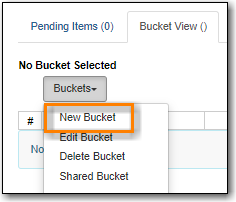
Select New Bucket from the Buckets dropdown list.
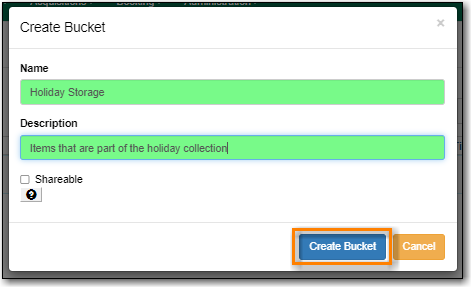
Type in a name and some description, if needed. Click Create Bucket.
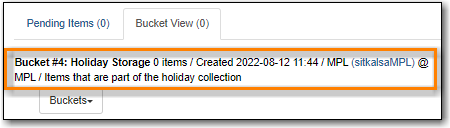
The newly created bucket is the active bucket in Bucket View. Note that the bucket is numbered, and creator/owner identified.
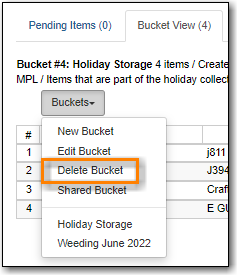
Click the Buckets dropdown list to see the bucket. You can edit the bucket’s name or description by clicking on Edit Bucket on the list.

Tip
- Only buckets created by the login account are listed. But those created by other people can be retrieved via bucket number, if shared with you. Click Shared Bucket to type in the number to retrieve it.
- Ignore the check box for Shareable - this function does not work as expected.
Create an Item Bucket when Adding an Item Record to a Bucket
You can also create a bucket from within an item record.
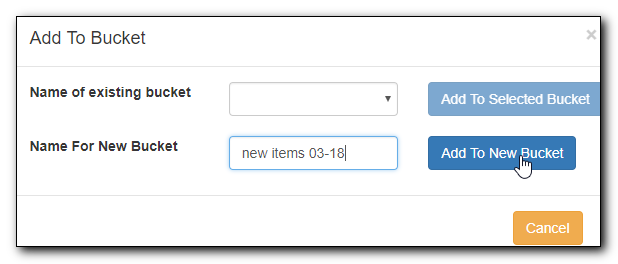
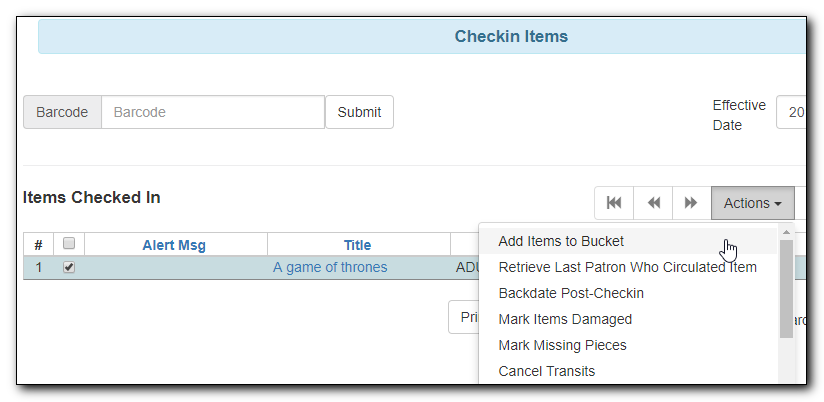
When an item is displayed on a screen such as Checkin or Item Status, you can add it to an item bucket by choosing Actions → Add Items to Bucket.
You are prompted to add the record to an existing bucket or a new one. To add to a new bucket, type in a name in Name For New Bucket box, then click Add to New Bucket.