Table of Contents
Record buckets allow you to build a list of titles that you may process in batch. It is also the interface for merging records. Records, even after being deleted, remain in a bucket until they are removed from it.
We will demonstrate how to create and manage bibliographic record buckets. It is very important when working with buckets to ensure you are working with the correct type of record for the corresponding bucket. You cannot add copy records to bibliographic record buckets and vice versa.
There are two ways to create a record bucket. You can either create a bucket first, without accessing any records, or you can access a record and choose to create the bucket from that view. We will demonstrate both methods here.
Creating a Record Bucket on Record Buckets view
- Select Cataloging → Record Buckets from the menu bar.
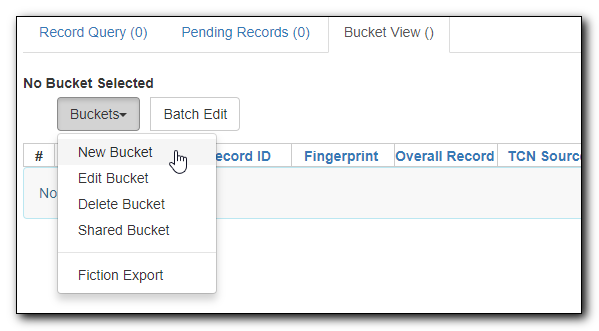
Select New Bucket from the Buckets dropdown list.
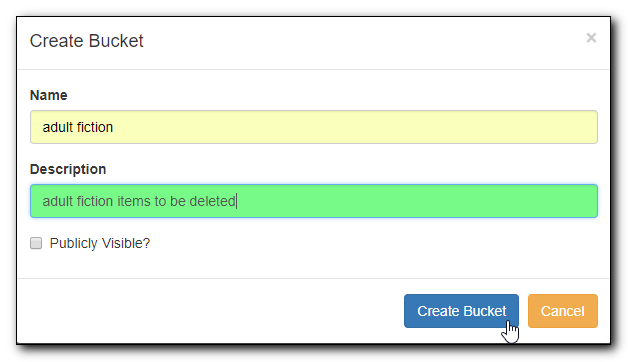
Type in a name and some description, if needed. Click Create Bucket.
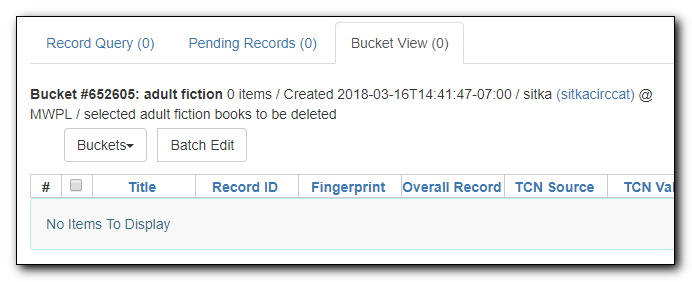
The newly created bucket is the active bucket in Bucket View. Note that the bucket is numbered, and creating owner identified.
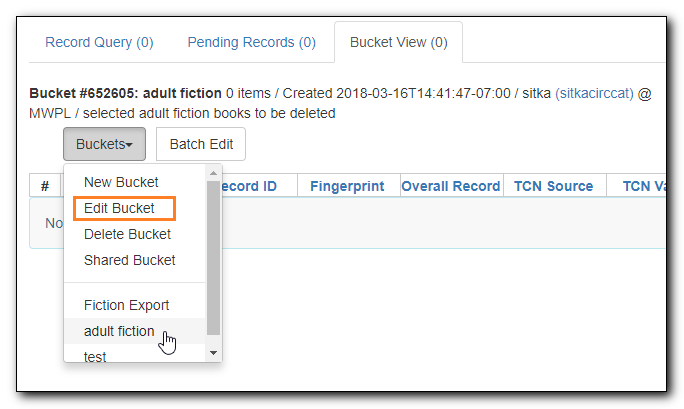
Click the Buckets dropdown list, you will see the bucket on the list. You can edit the bucket’s name or description by clicking on Edit Bucket on the list.
Tip
Only buckets created by the login account are listed. But those created by other people can be retrieved via bucket number, if shared with you. Click Shared Bucket to type in the number to retrieve it.
Creating a Record Bucket when Adding a Record to a Bucket
You can also create a bucket from within a record.
Search for, retrieve, and display any bibliographic record, then choose Other Actions → Add to Bucket.
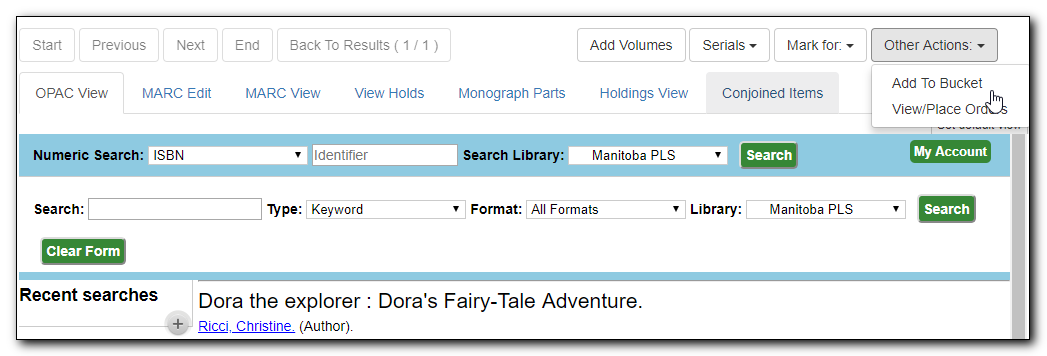
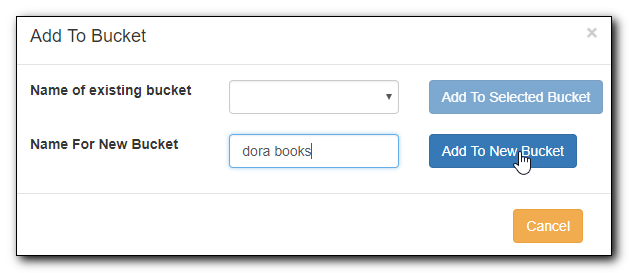
You are prompted to add the record to an existing bucket or to a new one. To add to a new bucket, type in a name in Name For New Bucket box, then click Add to New Bucket.
