The Keyword Search pane lets you search the catalogue with one or more search terms. You may also apply a variety of filters and sort the results.
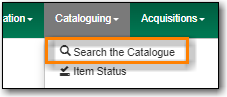
Go to Cataloguing → Search the Catalogue.
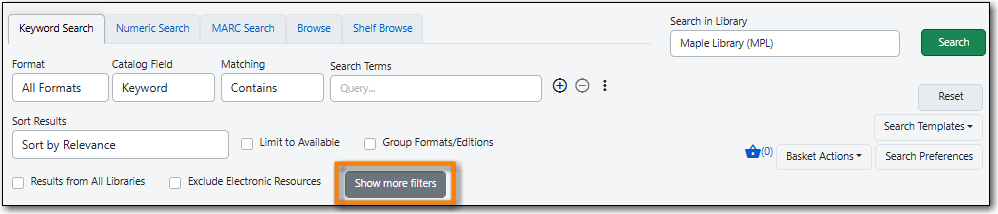
- Select the Keyword Search tab. It will be open by default if it’s set as your default search pane.
Use the three dots or the Show more filters button to expand the search form for more filtering options.
When searching it’s important to ensure that your desired search scope is set in the library selector.
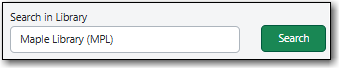
(MPL is the Maple Library on Sitka’s training server.)
Tip
Multi-branch libraries can search their entire system or a specific branch.
Libraries participating in reciprocal borrowing may wish to search their library or their ILC zone.
You can set your default search library for the workstation in Search Preferences.
Enter your search criteria and click Search.
Tip
To add an additional search row, click the plus sign (+) to the right of the Search Terms text box. A new search row will appear below the first.
Additional search rows are joined to preceding rows with the Boolean operators And or Or, which may be selected in the Join with menu to the left of the additional search row.
To delete a search row, click the minus sign (-) to the right of the row you wish to delete.
Your results are displayed. Refer to the section called “Viewing Search Results” for additional information.

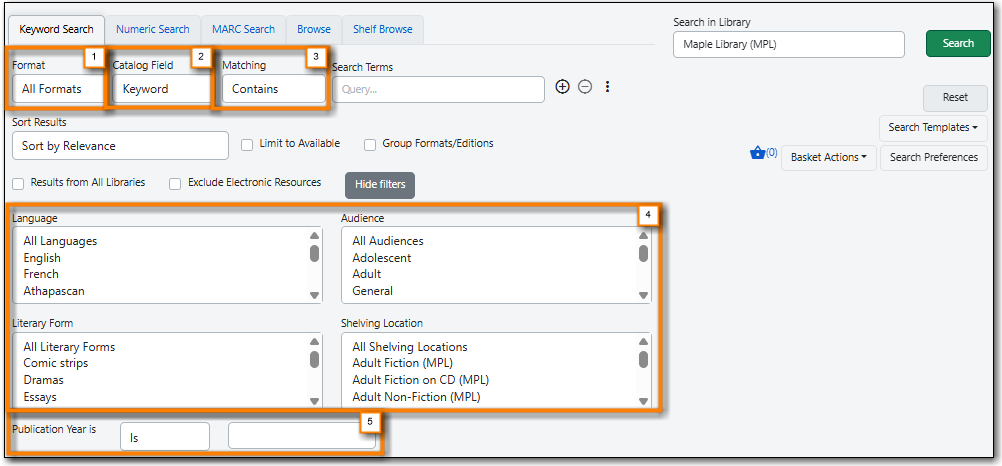
There are three options to limit your keyword search: Format, Catalog Field, and Matching.
- Format: Make a selection from the Format drop down menu to specify what type of item you are seeking. Some options for format include: All Books, Music (CD, cassette), All Videos, Braille, Books (large print), and Software/Video Games.
- Catalog Field: Make a selection from the Catalog Field drop down menu to specify which bibliographic fields you wish to search. You may select Keyword, Title, Journal Title, Author, Subject, or Series.
Matching: Make a selection from the Matching menu to specify how strictly the search should treat your search terms. You may choose from the following options:
- Contains: The search will look for items that contain your search terms, regardless of how the terms appear in the record.
- Does not contain: The search will look for items that do not contain your search terms.
- Contains phrase: The search will look for items that contain your search terms successively in exact order.
- Matches exactly: The search will look for items that contain only your search terms in exact order. This option is not available when Keyword is selected in the Catalog Field search option.
Starts with: The search will look for items that begin with your search terms, regardless of how the terms appear in the record. This option is not available when Keyword is selected in the Catalog Field search option.
Note
Keyword searches will look through all relevant fields in the bibliographic record, even if they are not displayed in the search results. For example, searching by title also searches the alternate title field, which is not displayed in search results.
Filters let you refine your search beyond the options available in the search row.
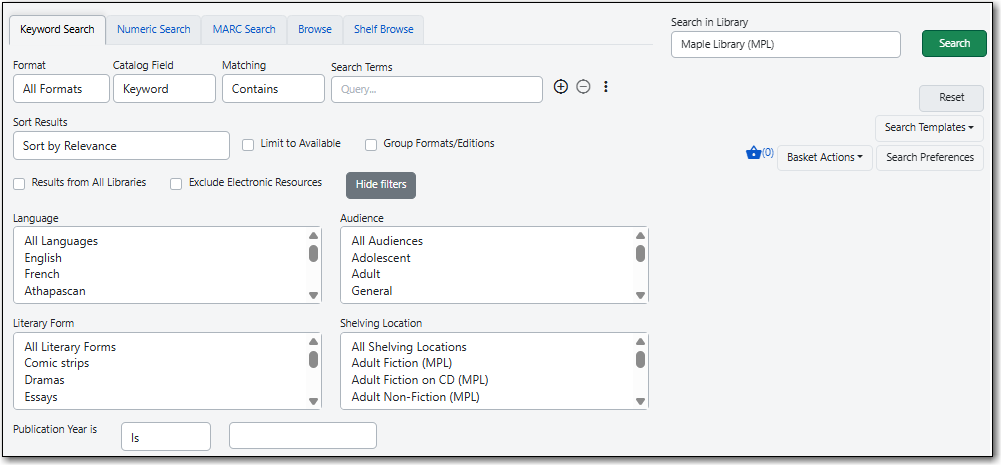
Use the three dots or the Show more filters button to expand the search form for more filtering options. The filters appear at the bottom of the search form.
The options available in each filter depend on the library selected in the Library Selector. The available filters are: Language, Audience, Literary Form, and Shelving Location.
To add a filter, select the desired term from the list in the filter. The selected term will be highlighted and the filter will be applied when you run the search. Use the scroll bar in each filter to view more options.
Tip
Hold CTRL (Windows) or CMD (Mac) to make multiple selections in a single filter.
To remove a filter, select the first term in the filter’s list that begins with All and is followed by the name of the filter. For example, to remove the Language filter, select All Languages.
To remove all filters, click the Reset button in the top-right corner of the search form.
To filter by publication year, select an option from the drop down menu to the right of "Publication Year is" and enter the publication year or years in the text box.
- You may select Is, Before, After, or Between. If you select Between, an additional text box will appear to the right of the existing text box.
Note
Filters will not be applied until you click Search. If you make any changes to filters after beginning a search, you must click Search again to apply your changes.
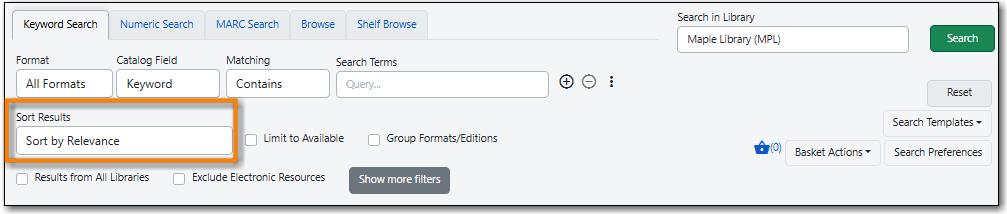
By default, the search results are in order of greatest to least relevance. Search results can be sorted by relevance, title (A to Z or Z to A), author (A to Z or Z to A), publication date (newest to oldest or oldest to newest), or popularity (most to least popular or popularity adjusted relevance).
To change the sorting method before your search, select an option from the Sort Results drop down menu located below the search row.
To change the sorting method of a search you have already started, select an option from the Sort Results drop down menu, then click Search in the top-right corner to apply your selection.
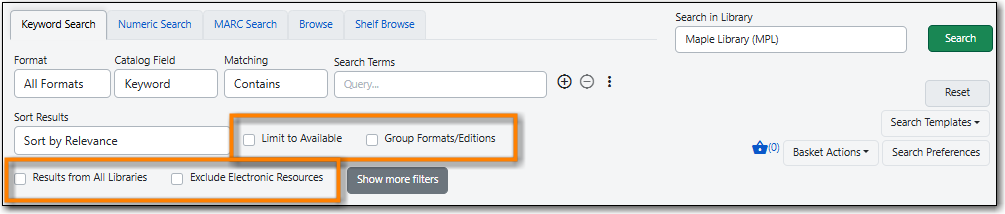
Three checkboxes appear on the Keyword Search pane by default. If the Exclude Electronic Resources checkbox is selected on the workstation’s Search Preferences, the Exclude Electronic Resources checkbox will also appear.
Depending on the size of your browser window, these checkboxes appear to the right of or below the Sort Results drop down menu, at the bottom of the search form.
The checkboxes appear in the order listed below. The described behaviour applies when the box is checked (selected).
- Limit to Available: Results will be limited to items with a status of Available or Reshelving.
- Group Formats/Editions: Results of the same title with different formats or editions will be combined into a single result.
- Results from All Libraries: Results may come from any library in the highest level of your catalogue, usually a consortium or system. Checking this box overrides any conflicting workstation Search Preferences and any selection in the Library Selector.
- Exclude Electronic Resources: Results will not include any electronic format, such as e-books. If this checkbox is not visible, check the Exclude Electronic Resources checkbox on the Search Preferences page.
Note
If you check or uncheck a checkbox after beginning your search, you must click Search again to apply your changes.
