- Using your portable barcode scanner, scan every item on the shelf in your desired section of the collection.
- Export the barcodes to a text file (we recommend using Notepad) and save the file. The barcodes should be in one single spaced single column without extra spaces anywhere.
- Use copy/paste to break the big list of barcodes into smaller lists and save each list as an individual text file. Co-op Support recommends each list contain under 500 barcodes.
- Go to Circulation → Item Status.
- Ensure you have rows set to at least 500 in your function bar.
Click Choose File.

- Follow the on screen prompts to select your file.
- A progress bar will display as the file loads. The larger the file the longer it will take to load.
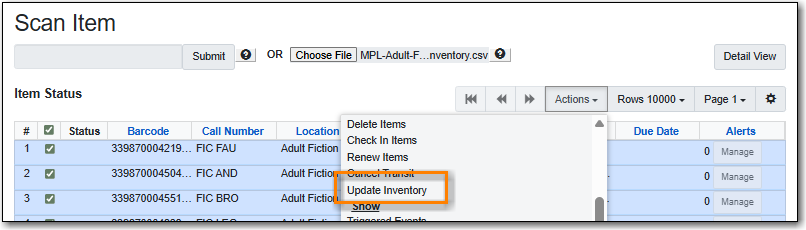
- The items will be listed and the file name displays at the top.
Select all the items by clicking on the check box in the column label row.

From the Actions menu choose Update Inventory.
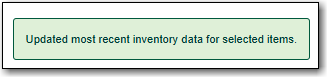
A confirmation will appear in the bottom right corner.
- Repeat until you have updated all items in your desired section of your collection.
- Run a report using the Sitka Template Inventory - Un-scanned Items. For the report filters you will need the date you started inventory and the shelving location(s) you inventoried.
- Take the list of un-scanned items and check the shelves to see if any were missed.
- If you find any un-scanned items, scan them in and update their inventory date using the Update Inventory action.
- Any items you cannot locate should be marked as missing. Evergreen will alert you if they are found.
- Run a report using the Sitka Template Inventory - Scanned Items Count by Shelving Location. For the report filters you will need the date you started inventory.
- This report will show you how many items have had their inventory date updated since you started inventory. You will likely see items from other shelving locations that have been updated through your regular check in process, as long as the Update Inventory checkin modifier is enabled on all workstations where check in is done.
- Repeat all the steps for every shelving location/section of your collection that you wish to inventory.
