The Grid Options menu can be accessed from the Function Bar by clicking on the gear symbol.

Some options in the menu and the resulting screens will differ depending on the version of the function bar.
Tip
When saved, grid options are saved for the particular workstation. If you need to re-register your workstation you should use the original workstation’s name or you will need to re-set all your grid settings across the staff client.
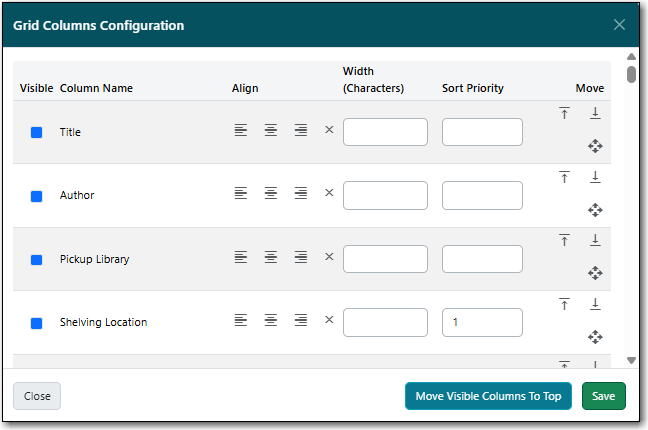
Library staff can customize what columns display, and how they display, in the grid for interfaces in the staff client using the Manage Columns option in the Grid Options.
Available configuration options are:
- Visible: Whether a column is visible or hidden.
- Align: Whether the contents of the column aligns left, centre, or right. By default, text aligns left and numbers align right.
- Width (Characters): What the width of a column is.
- Sort Priority: What order the data is sorted by default when displayed in the grid.
- Move: What order the columns display in. Columns can also be manually dragged and dropped when viewing the grid.
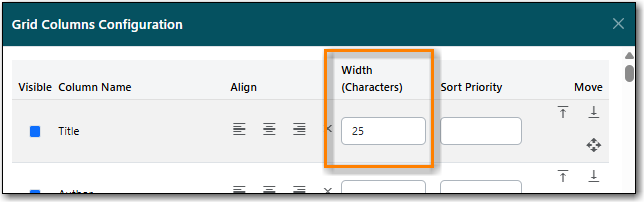
The width of columns can be adjusted for the grids. The method to do so depends on the version of the function bar.
In newer interfaces, you can use your cursor to drag the edges of the columns to expand or shrink them. You can also set a width, measured in characters, by selecting Manage Columns from the Grid Options menu. You can then enter a value in the Width (Characters) field for the applicable column.
In older interfaces, you can select Manage Column Widths from the Grid Options menu and then click Expand or Shrink to adjust the column sizes.

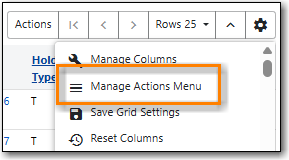
The newer function bar includes the Manage Actions Menu option.
- Click on the Show Grid Options (gear icon) menu.
Select Manage Actions Menu.
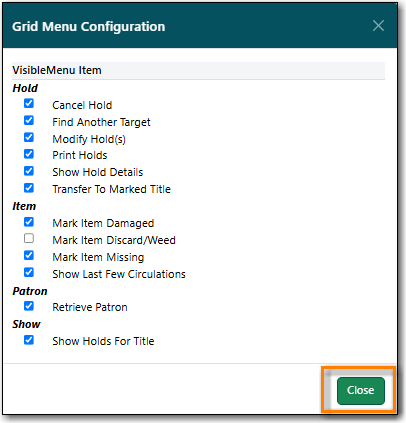
Make required changes and click Close.
- Click on the Show Grid Options (gear icon) menu again.
Select Save Grid Settings.
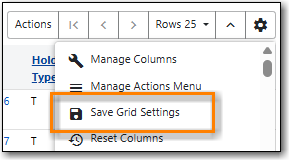
Changes made to a grid through the grid options are temporary and the display of the grid will revert to its previous settings the next time it’s viewed unless the grid settings are saved.
- Click on the Show Grid Options (gear icon) menu.
Click Save Grid Settings.
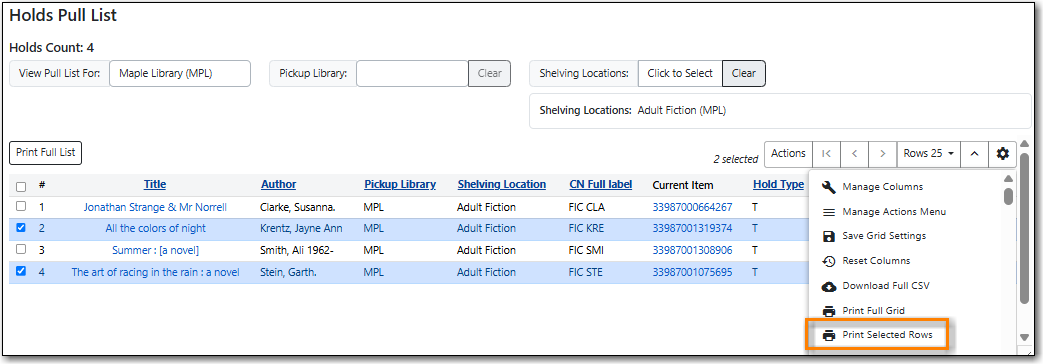
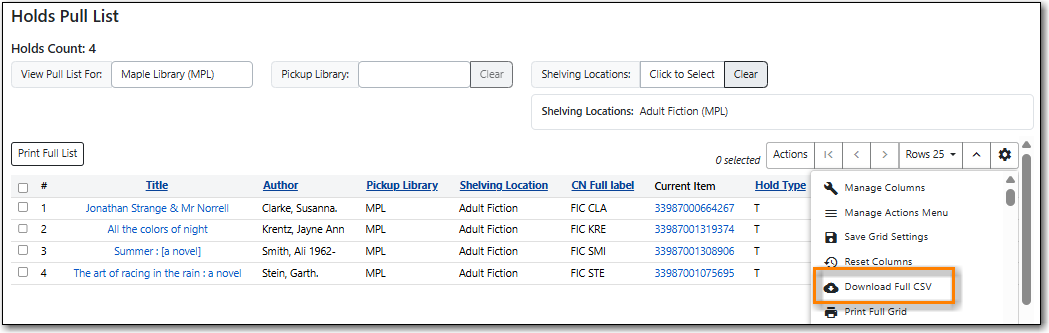
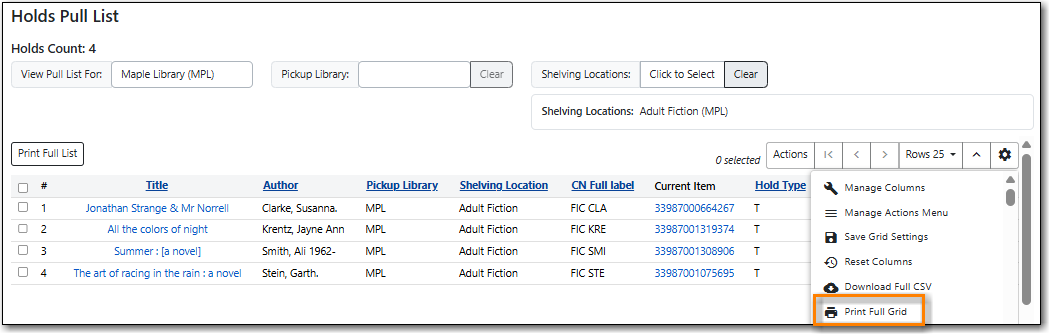
There are two ways to print the information in the grid and one way to download it. In all cases, the list will only include the items currently displaying on the screen.
The Print Full Grid option available on the Grid Options menu (Gear Icon) will open a print dialogue and allow you to print the list which will include all the columns currently visible on the screen.
The Print Selected Rows option available on the Grid Options menu (Gear Icon) will open a print dialogue and allow you to print the selected rows as a list which will include all the columns currently visible on the screen.